

Imagine never having to trim grass along your flower beds again. No more weekly battles with grass creeping into your landscaping or mulch spilling onto your driveway. Installing concrete landscape curbing eliminates these tedious chores while giving your property clean, professional lines that last for decades.
The time savings alone make concrete curbing appealing, not to mention the instant boost to your home’s curb appeal. Many homeowners consider concrete curbing installation as a DIY project that allows them to enjoy these benefits while saving money. Snake River Curbing understands where they’re coming from. But is it right for you? Let’s find out.
Is DIY Installation Right for Your Project?

Before diving into the installation of landscape concrete curbing, assess whether this project matches your skills and available time. Installing concrete curbing requires physical stamina–you’ll be working bent over for hours, mixing heavy concrete, and shaping material that won’t wait for breaks. The learning curve is steep, and mistakes made during installation are often impossible to fix without starting over.
DIY concrete curbing installation makes most sense for short, straight runs in simple layouts. If your project involves extensive curves or spans longer than 50 feet, the complexity increases dramatically. In Eastern Idaho, timing becomes critical–you need dry conditions and temperatures between 50°F and 80°F for proper curing.
You should also consider your timeline. Professional crews complete most residential projects in one day, while DIY installation often takes multiple weekends.
The Installation Process: What’s Actually Involved

Once you move beyond preparation, the actual concrete landscape curbing installation demands precise timing, consistent technique, and physical endurance that many DIYers underestimate.
Setting Up Your Work Area
Concrete landscape curbing installation begins with organizing your workspace. Place all tools within easy reach, including trowels, floats, brushes, and forms. Safety equipment, like knee pads, gloves, and safety glasses, isn’t optional. Check weather forecasts carefully; unexpected rain can ruin hours of work.
Concrete Mixing and Consistency
Achieving proper concrete consistency separates successful DIY landscape curbing from amateur results. The mix must be workable enough to shape yet stiff enough to hold its form without slumping. Most DIYers struggle with this balance. Too wet, and your curbing will sag; too dry, and you can’t achieve smooth finishes.
Plan concrete batches based on your working speed. Standard concrete remains workable for 30 to 60 minutes, depending on temperature. In Idaho’s summer heat, particularly around Rexburg or Driggs, that window shrinks to 20 minutes or less.
Forming and Shaping the Curbing
Hand-forming concrete curbing requires steady hands and consistent technique. Use string lines as guides to maintain straight runs and smooth curves. The key lies in achieving uniform height and width throughout your installation—variations become glaringly obvious once the concrete cures.
Work systematically, forming the base profile first, then building up sides and creating the final shape. Corners and curves demand special attention. Sharp angles often crack over time, while poorly executed curves look obviously amateur.
Finishing and Curing
Final finishing determines your curbing’s appearance and durability. Concrete curbing finishing involves multiple steps performed within specific periods. Initial floating removes surface imperfections, followed by final texturing while concrete remains impressionable. Proper curing protects your investment through controlled moisture retention.
DIY Challenges and Professional Comparison
Understanding the gap between DIY expectations and reality helps you make an informed decision about your concrete curbing project.
Common DIY Installation Problems
Most DIYers underestimate the physical and technical demands. Spending six to eight hours bent over and working with heavy, messy concrete takes a toll. Hand-mixing produces inconsistent results, leading to color variations and strength differences throughout your installation.
Technical challenges multiply quickly. Maintaining consistent thickness, achieving smooth joints between sections, and creating professional-looking curves require skills that take years of practice.
Weather and Timing Complications
Weather complications that professionals handle routinely can ruin DIY projects. Unexpected temperature changes, humidity swings, or sudden winds can ruin hours of work. Professional crews at Snake River Curbing use specialized equipment to maintain concrete workability, while DIYers rely on basic tools and hope for favorable conditions.
Quality and Longevity Differences
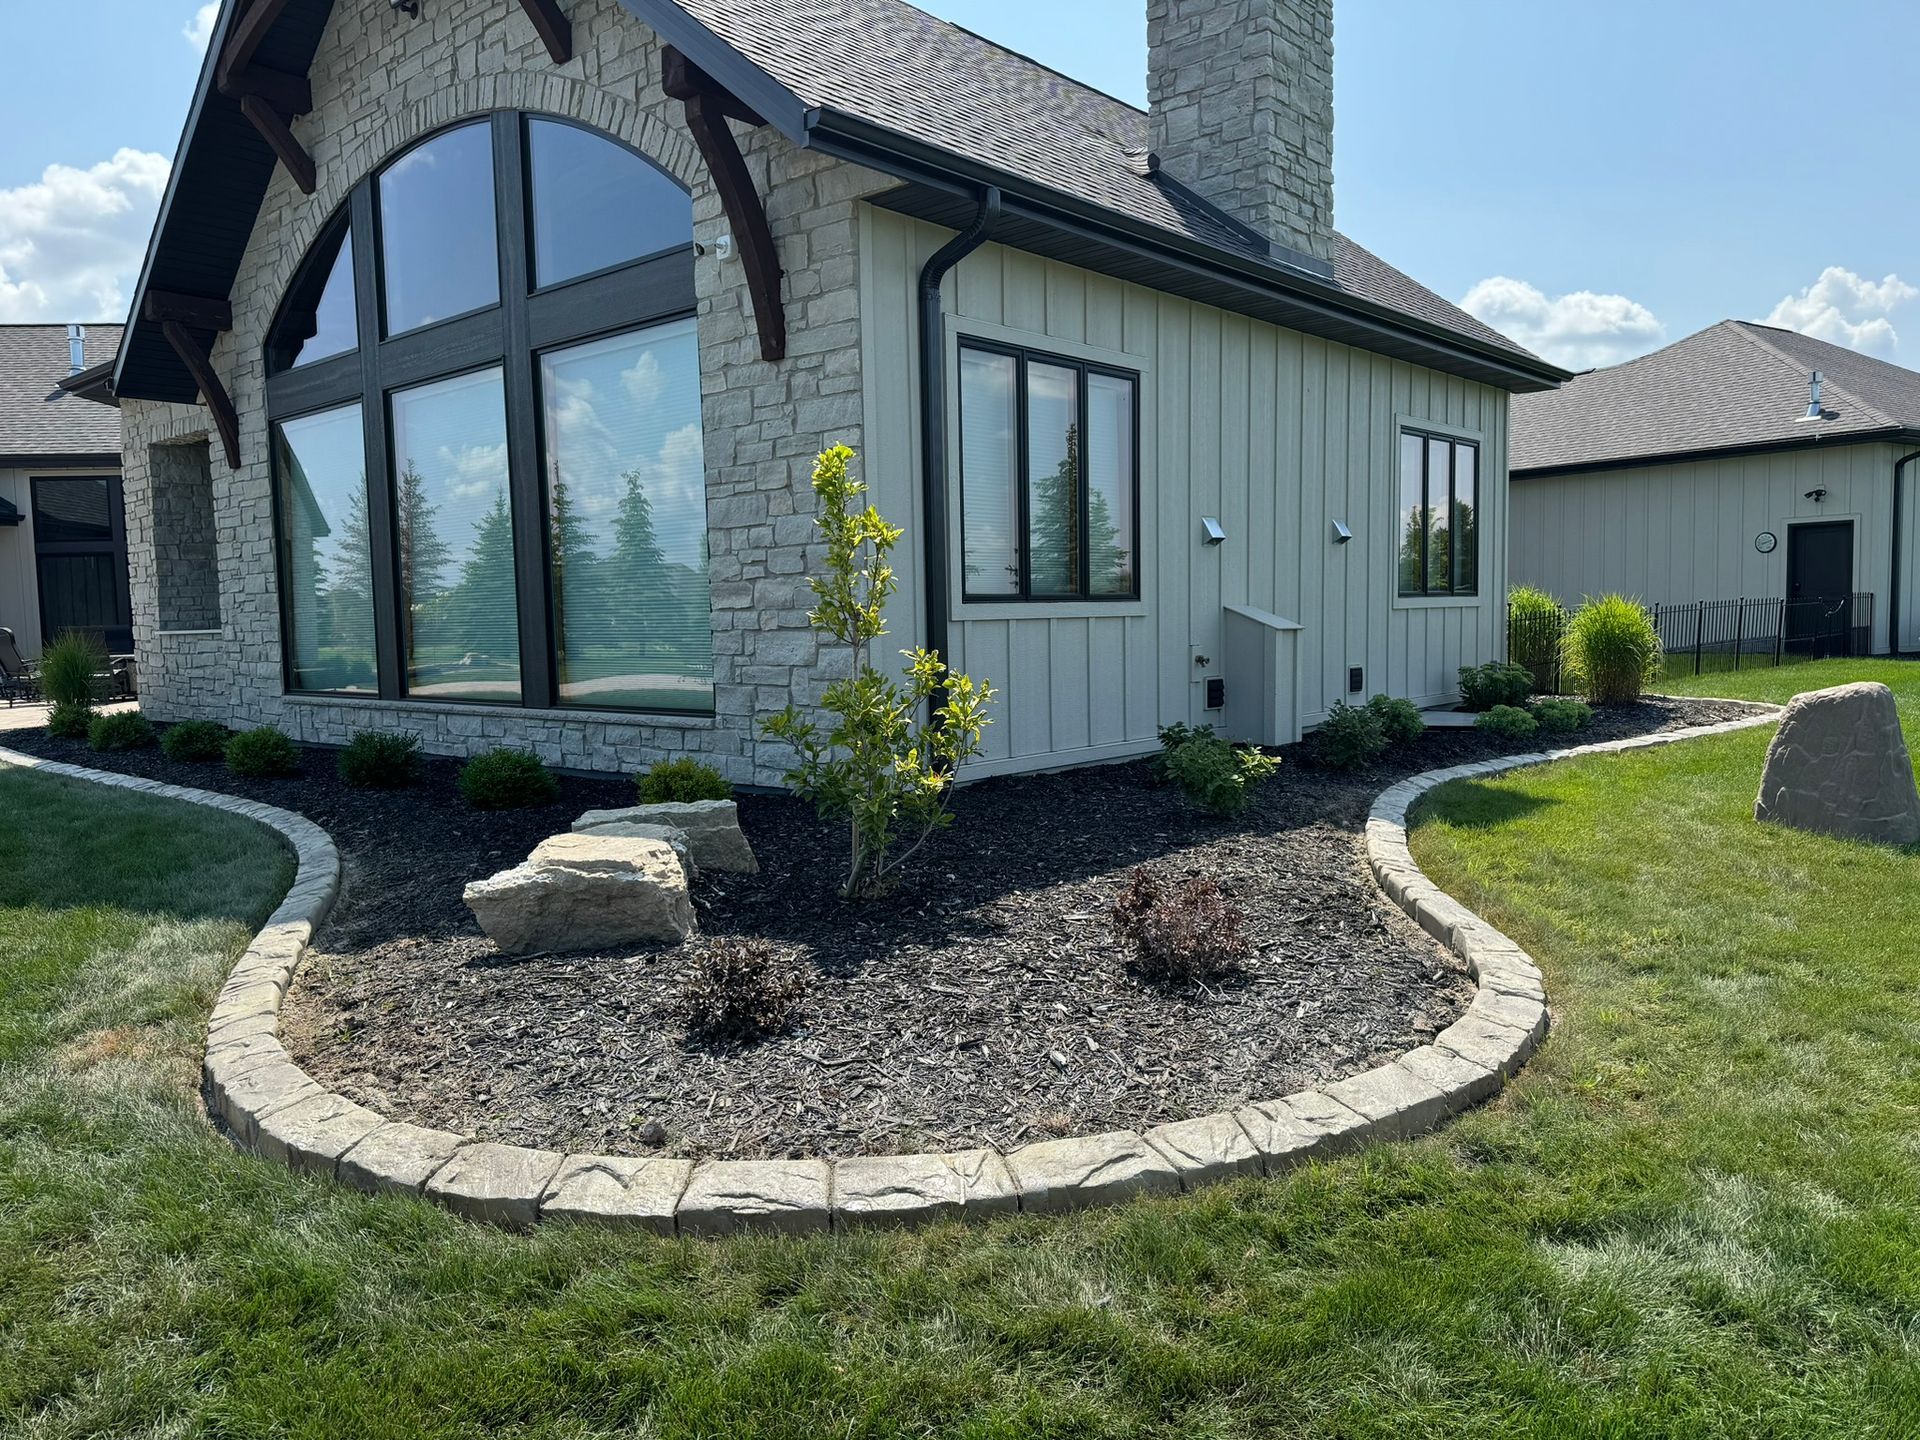
The quality difference between professional and DIY installation becomes apparent within the first year. Professional curbing maintains crisp edges, consistent color, and structural integrity. DIY installations often show settling, cracking, and an inconsistent appearance that reduces property value.
Make the Right Choice for Your Project
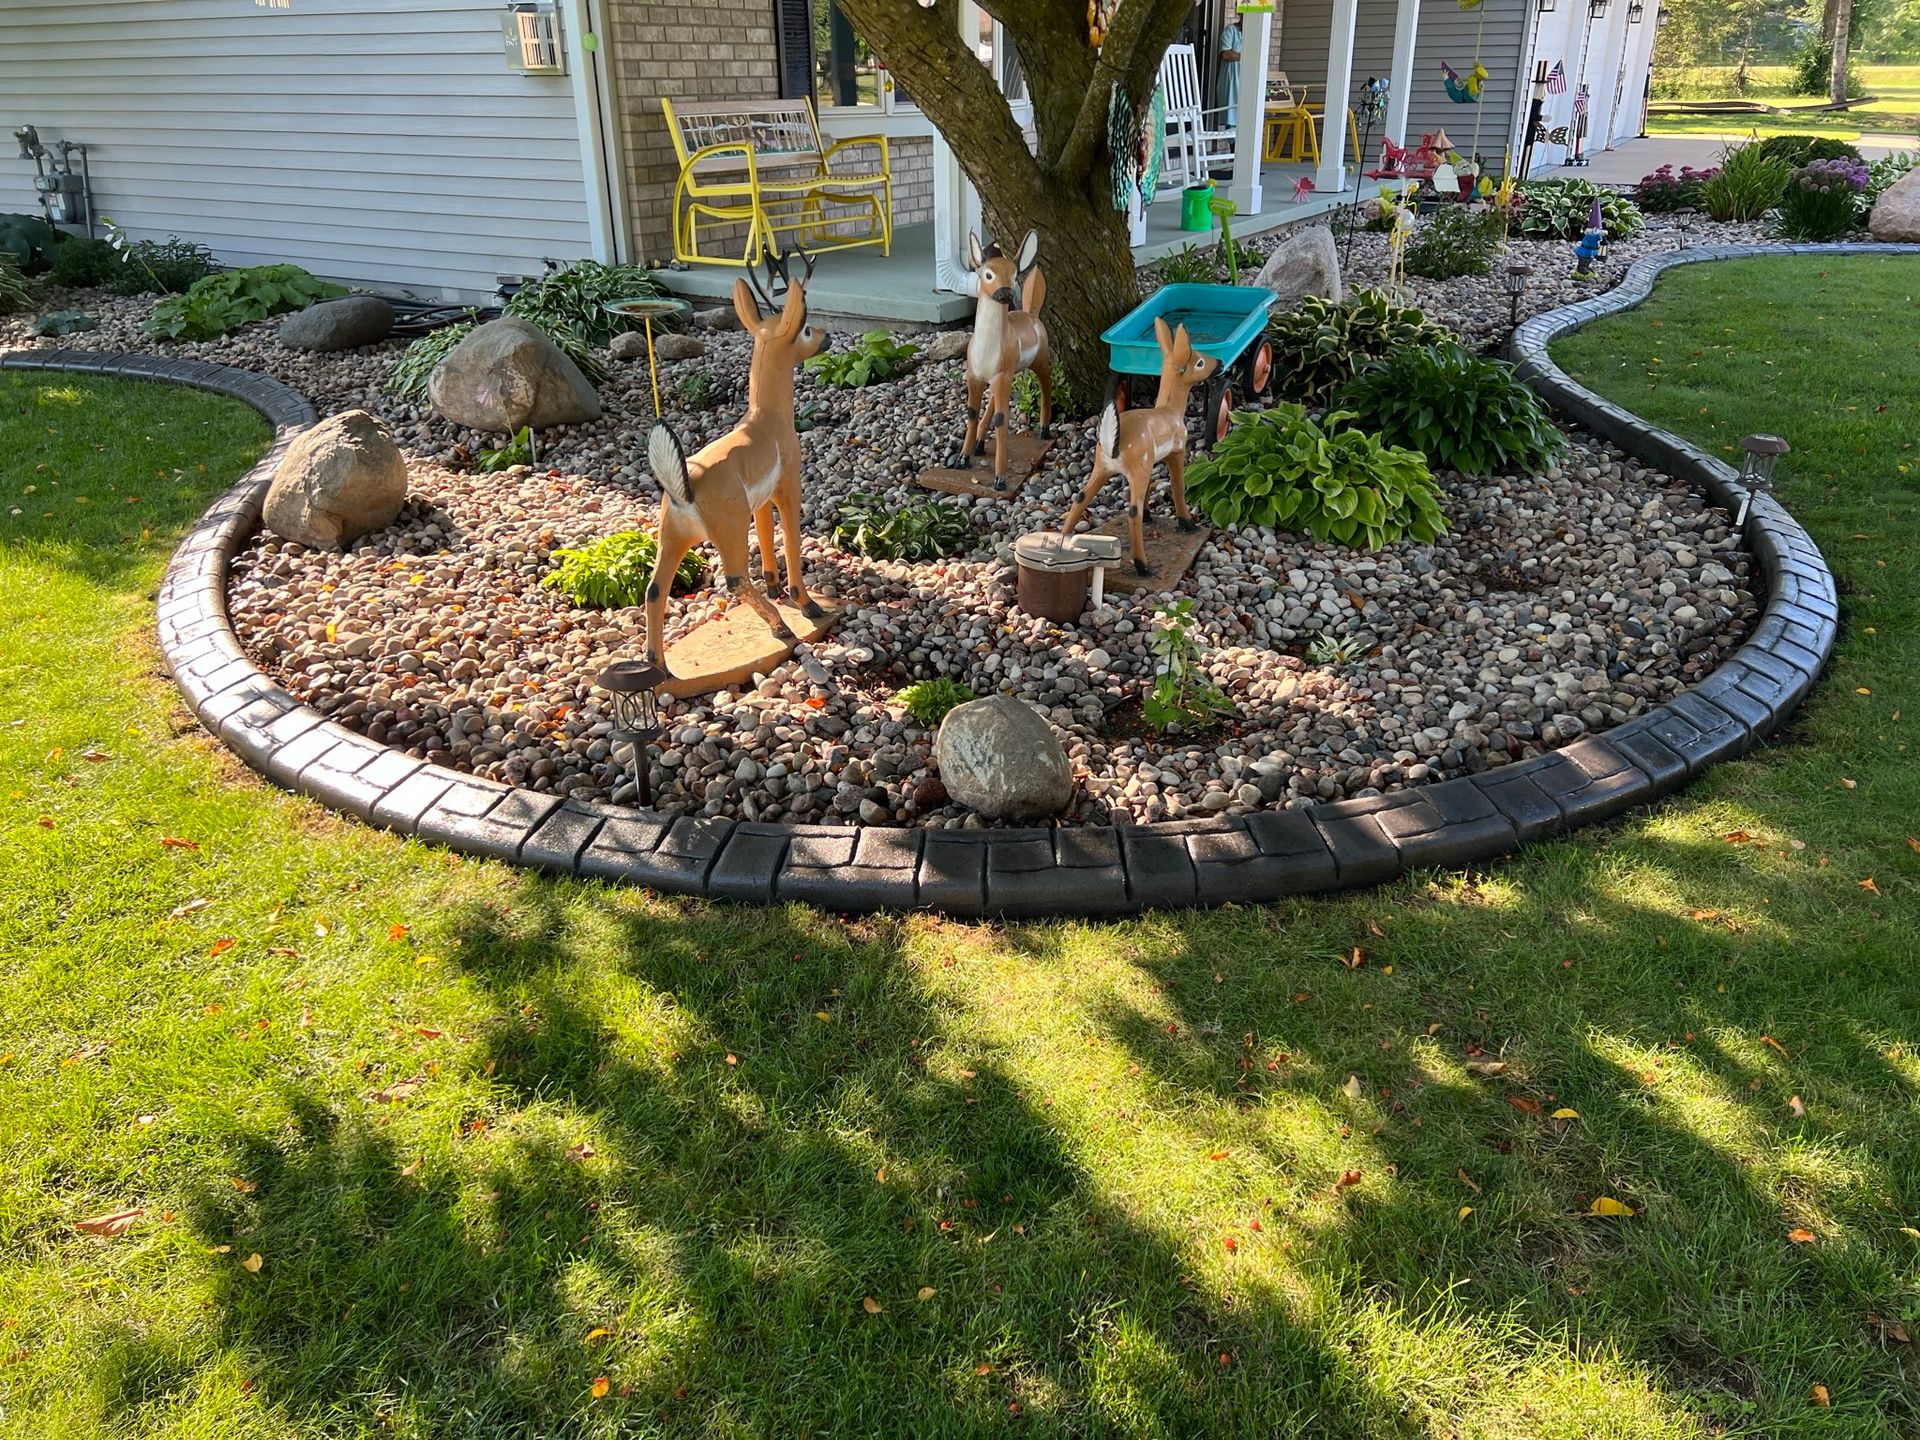
Consider concrete curbing installation carefully. DIY makes sense for simple, short runs where perfection isn’t critical. However, for prominent landscape features or complex layouts, professional installation delivers superior results and long-term value.
Still unsure whether to DIY your curbing? Contact us today and let’s explore your options together. Snake River Curbing brings years of expertise and knowledge gained from countless curbing installations.

